|
|
|
|
- Clinical Cases
- Technique Guide
Maxillary
Anterior and Posterior Restorations
Clinical Case by Dr. Carlos Sabrosa, Rio de Janeiro, Brazil
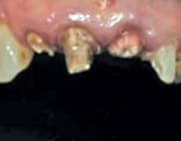
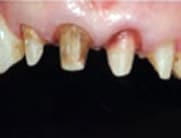
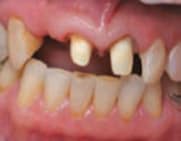
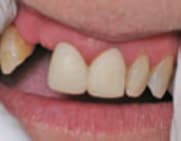
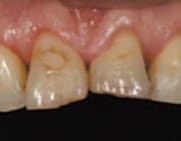
Initial situation
42 year-old female
patient presented
with teeth UR6, UR7,
UR8, UL5, UL6 and
UL8 missing in the
maxillary arch, and
teeth LL5, LL8, LR5
and LR8 missing in
the mandibular arch.
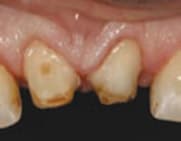
Composite restorations
in the anterior maxillary
teeth, and amalgam
restorations on existing
maxillary premolars
need to be replaced.
Treatment plan
After consultation
with the patient,
a decision was made
to place implants
in all areas except
teeth UR8 and UL8.
Final restorations
were planned with
all ceramic single
Lava™ Zirconia crowns
on the implants,
and natural teeth
in the maxilla and
in posterior teeth
in the mandible.
No treatment was
required on the lower
anteriors.
|
| |
|
|
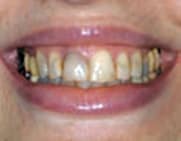
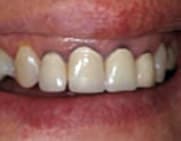
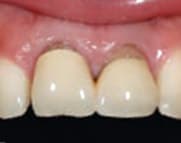
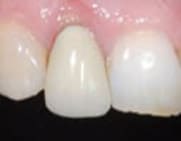
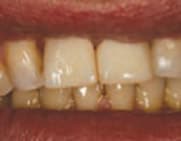
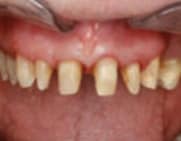
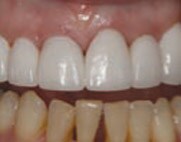
Figure 1
Pre-operative smile
view. Composite
restorations on anterior
teeth and PFM crowns
on posterior teeth
need replacement.
|
|
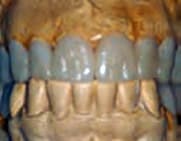
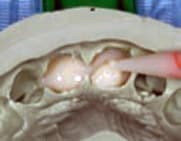
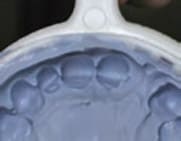
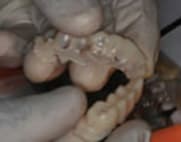
Figure 2
Diagnostic wax-up
of proposed treatment plan. |
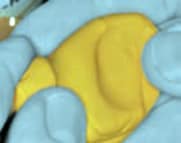
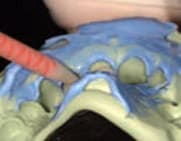
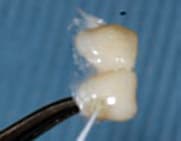
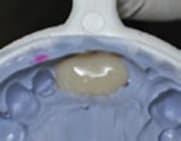
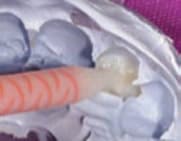
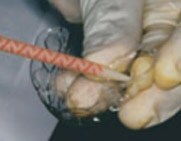
Figure 3
Mixing of 3M™ ESPE™ Imprint™
3 Putty Soft to make
an impression of the
wax-up.
|
|
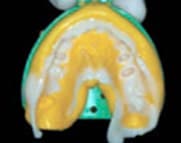
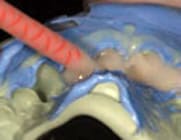
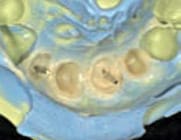
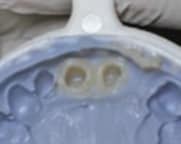
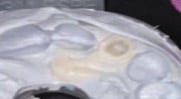
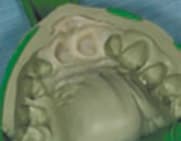
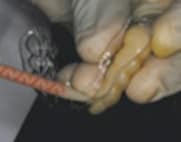
Figure 4
Impression of the diagnostic
wax-up. Filled with
Protemp™ 4 Temporization
Material shade A2.
|
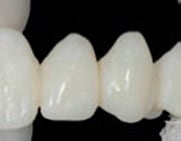
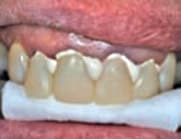
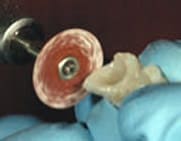
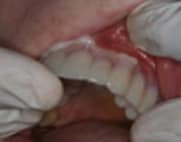
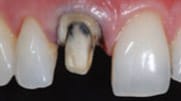
Figure 5
Gauze with alcohol was
rubbed on the buccal
surface after removal
of excess temporization
material on the margin.
|
|
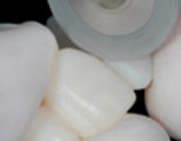
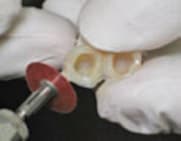
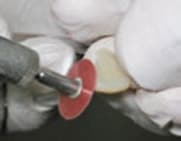
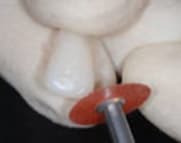
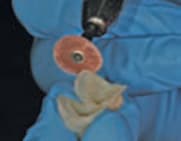
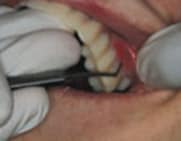
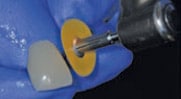
Figure 6
Trimming the interproximal
area with a diamond disc. |
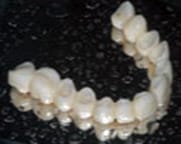
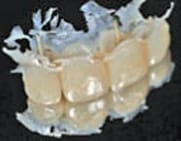
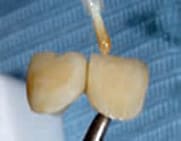
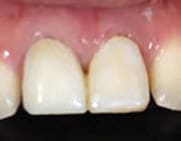
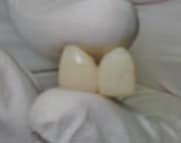
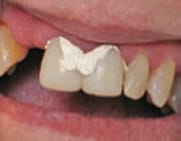
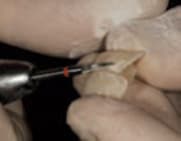
Figure 7
Provisional restoration
after trimming. |
|
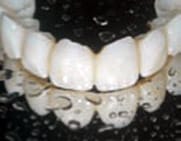
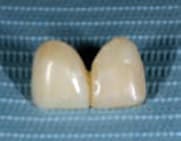
Figure 8
Anterior view of provisional
restoration trimming.
|

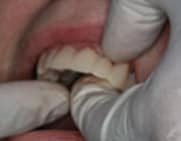
Figure 9
Protemp™ 4
provisional restoration
cemented with 3M™ ESPE™
RelyX™ Temp NE Temporary Cement.
|
|
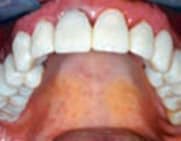
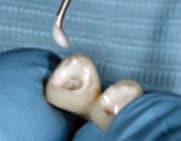
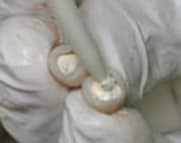
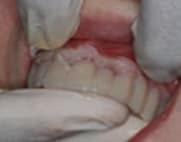
Figure 10
Occlusal view of 3M™ ESPE™
Protemp™ 4 provisional restoration
after cementation. |
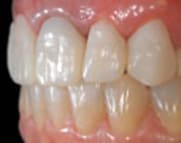
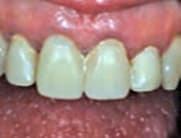
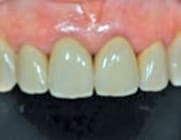
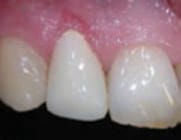
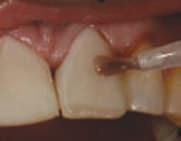
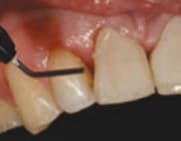
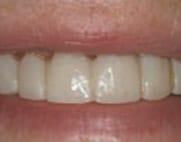
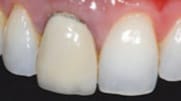
Figure 11
Surface texture and marginal
adaptation of the provisional
restoration. |
|
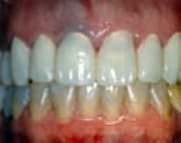
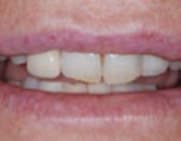
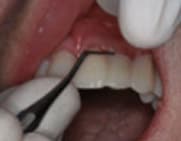
Figure 12
Soft tissue response
after one week. Due to
the excellent marginal
adaptation, healing is achieved in a few days.
|
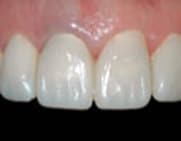
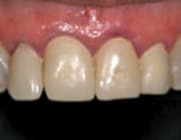
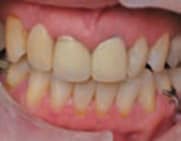
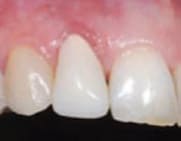
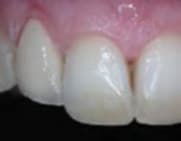
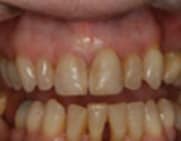
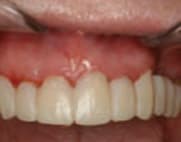
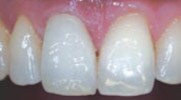
Figure 13
Anterior view of soft tissue
response after one week. |
|
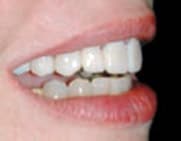
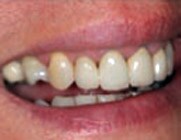
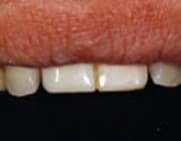
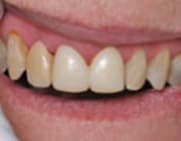
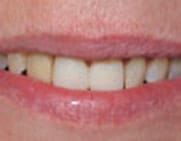
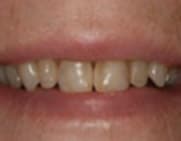
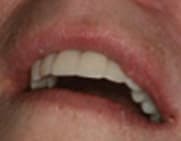
Figure 14
Post-operative smile with
3M™ ESPE™ Protemp™ 4 temporaries.
|

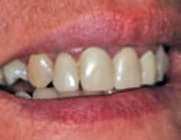
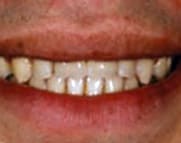
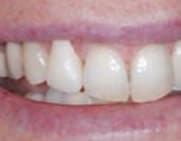
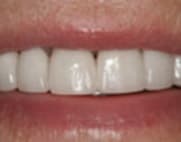
Figure 15
Post-operative smile with temporaries in place.
|
|
|
|
Direct Technique Guide
|
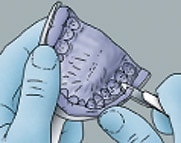
Figure 1
Remove excess material
as needed.
|
|
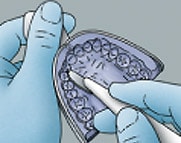
Figure 2
Remove interproximal grooves in impression.
(optional) |
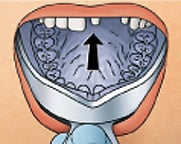
Figure 3
Reposition matrix in
the mouth to confirm proper fit.
|
|
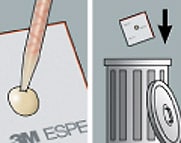
Figure 4
Bleed a small amount
of material through the
mix tip before dispensing
in the matrix.
Discard extruded material.
|
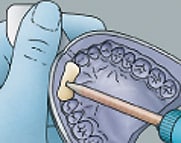
Figure 5
Dispense material into
the impression or matrix.
|
|
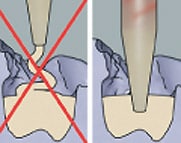
Figure 6
Make sure to fill from
the bottom up and to always keep the tip immersed in the temporary
material to prevent voids.
(Working time: 40 seconds)
|
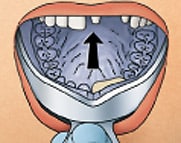
Figure 7
Seat in the mouth and
hold firmly in place.
|
|
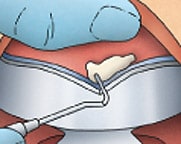
Figure 8
Check setting progress
with excess material.
|
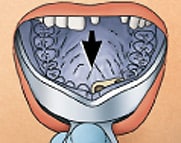
Figure 9
Remove from and matrix mouth between
1:40 and 2:50 min:sec from the onset of mixing.
|
|
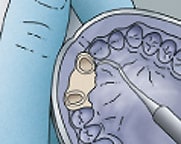
Figure 10
Leave material in the
matrix for 5:00 min:sec for optimal esthetics.
This is important to achieve a smooth
and shiny surface.
|
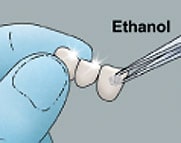
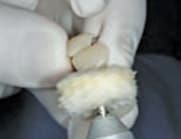
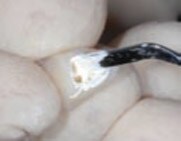
Figure 11
Remove oxygen inhibited
layer with alcohol.
|
|
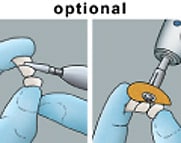
Figure 12
Finish and polish as
needed.
|
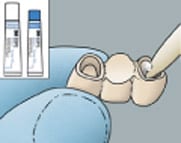
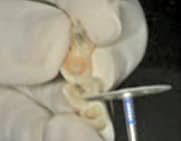
Figure 13
Cement provisional restoration
using a temporary cement.
|
|
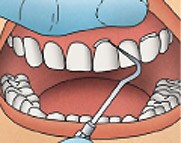
Figure 14
Remove the excess cement.
|
|
|
|
|
|
|
|
|
|
|